Add System Monitoring to Home Assistant
Series: Creating My Smart Home
- Making All of My Smart Home Devices Work Together with Home Assistant
- Initial Setup and Configuration of Home Assistant on a Raspberry Pi
- Control Z-Wave Devices with Home Assistant Using an Aeotec Z-Stick
- How to Fix GE Z-Wave Switches Not Updating in the Home Assistant UI
- Track Home/Away Status for Your Household Using Their Smart Phones and Home Assistant
- Add Alexa Voice Control to Home Assistant with the Emulated Hue Bridge
- Control TP-Link Smart Plug with Harmony Hub via Emulated Hue Bridge
- Add System Monitoring to Home Assistant
- Organize the Home Assistant Web UI with Groups
- Set Up Secure Remote Access for Home Assistant
- Install and Configure the Home Assistant iOS App and Enable Notifications
⚠️ This was originally posted on August 18, 2017. The information may be outdated!
As my smart home continues to grow in complexity–and as my household becomes more used to its advantages–I’ll want to make sure I’m aware of any problems as soon as possible. One way to help with this is to monitor the performance of the Raspberry Pi itself. Home Assistant has several system-monitor components that can help with this.
I’m using the System Monitor and Fast.com components. I had to modify the existing sensor section of my configuration.yaml file to include multiple platforms. I added a dash and a space in front of the default platform: yr sensor and then added platforms for the systemmonitor sensor and fastdotcom sensor. So it went from this:
# Weather Prediction
sensor:
  platform: yr
to this (notice the dash before each platform):
sensor:
- platform: yr
- platform: systemmonitor
resources:
- type: disk_free
arg: /
- type: memory_free
- type: processor_use
- type: last_boot
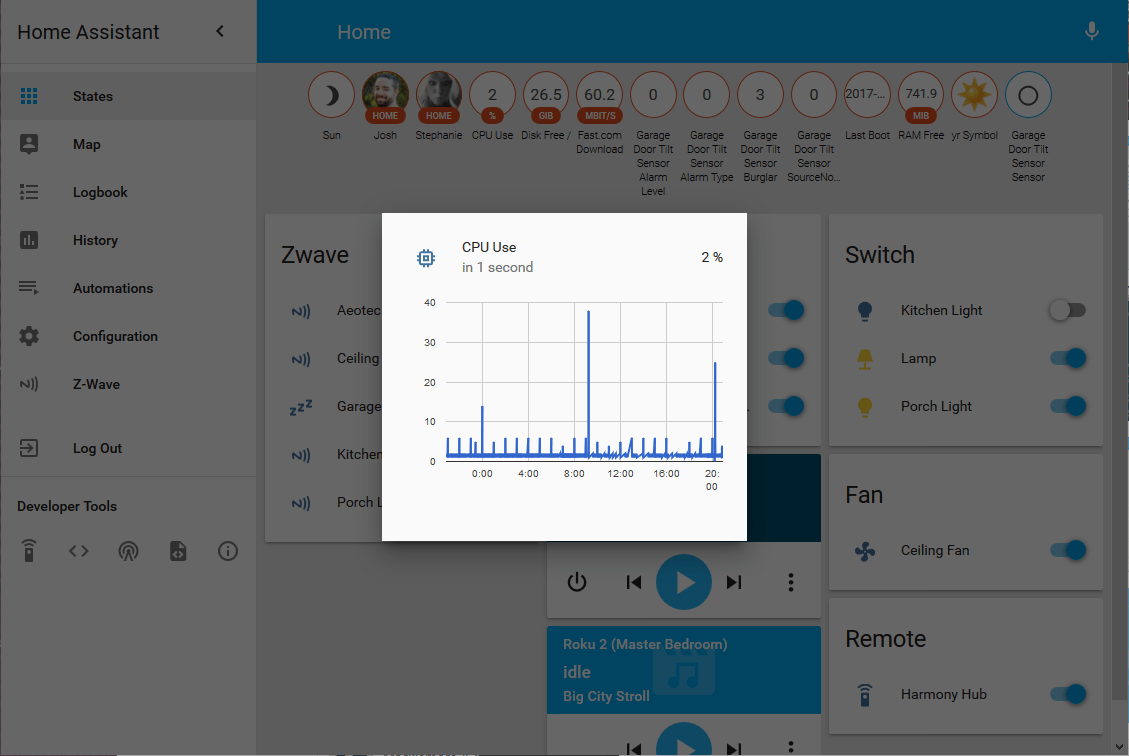
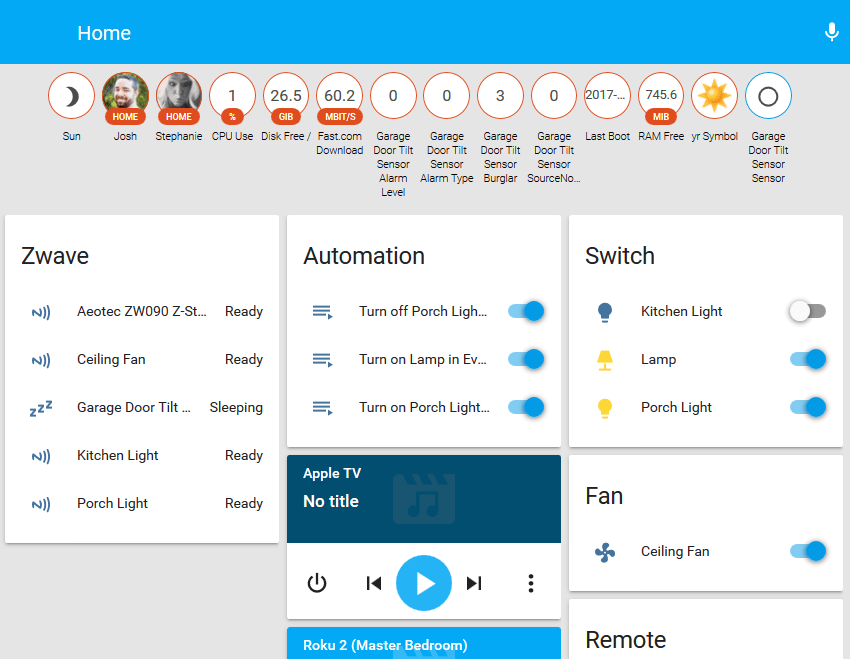
- platform: fastdotcomThe System Monitor documentation covers what it can do; here I’m monitoring total free disk space, free RAM, processor use in percent, and the last boot time. I’m using the Fast.com component’s default settings which measure download speed once an hour. After I saved the changes to the configuration.yaml file and restarted Home Assistant, I could see these new sensor entities in the web UI.
Note: I had to run a manual test for the Fast.com component before it displayed a value.
Now I could theoretically set up automations that flash the lights in the kitchen if the CPU use goes above 90%. I’ll more likely use iOS notifications, but more on that in a future post.