Organize the Home Assistant Web UI with Groups

At this point in my Home Assistant journey I have several devices configured, and the UI is starting to get cluttered. Home Assistant lets you organize the UI using groups and views, so I decided to take advantage of that. I want to have a few tabs (a.k.a. “views”) with my devices grouped within the appropriate tab. I also want to hide some entities that aren’t immediately useful. My tilt sensor for the garage door, for example, has five entities listed in the UI right now. Some of them aren’t useful to me, and I have to visually scan for a few seconds to find the sensor and see when the door is open vs. closed.
Creating My Views
I wanted to have a default “Home” view for my most-used entities (e.g. presence detection, interior lights, media players), an “Exterior” view for exterior lights and cameras, a “Garage” view for my garage door controls/camera, and a “System” view for other entities. To create these views, I logged into the Raspberry Pi via SSH and edited the groups.yaml file. It was empty at first, so I added the following to it:
default_view:
  name: Home
  view: yes

exterior:
  name: Exterior
  view: yes

garage:
  name: Garage
  view: yes

system:
  name: System
  view: yes
You’ll notice that the first entry is the default_view. By creating a default_view Home Assistant will no longer show every entity in the web UI. When I add new devices/entities in the future, I’ll need to explicitly add the entity to the groups.yaml file in order to see them in the web UI. This is what I wanted, but others may prefer to have all devices added automatically to the default view; in that case, don’t create a default_view entry in groups.yaml.
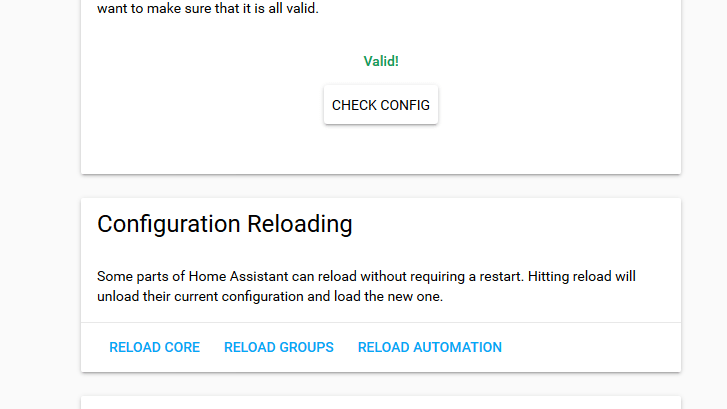
After I saved the changes to the file, I navigated to the Configuration section of the web UI and checked the configuration to ensure it was valid. It checked out OK, so I scrolled down and clicked the Reload Groups button.
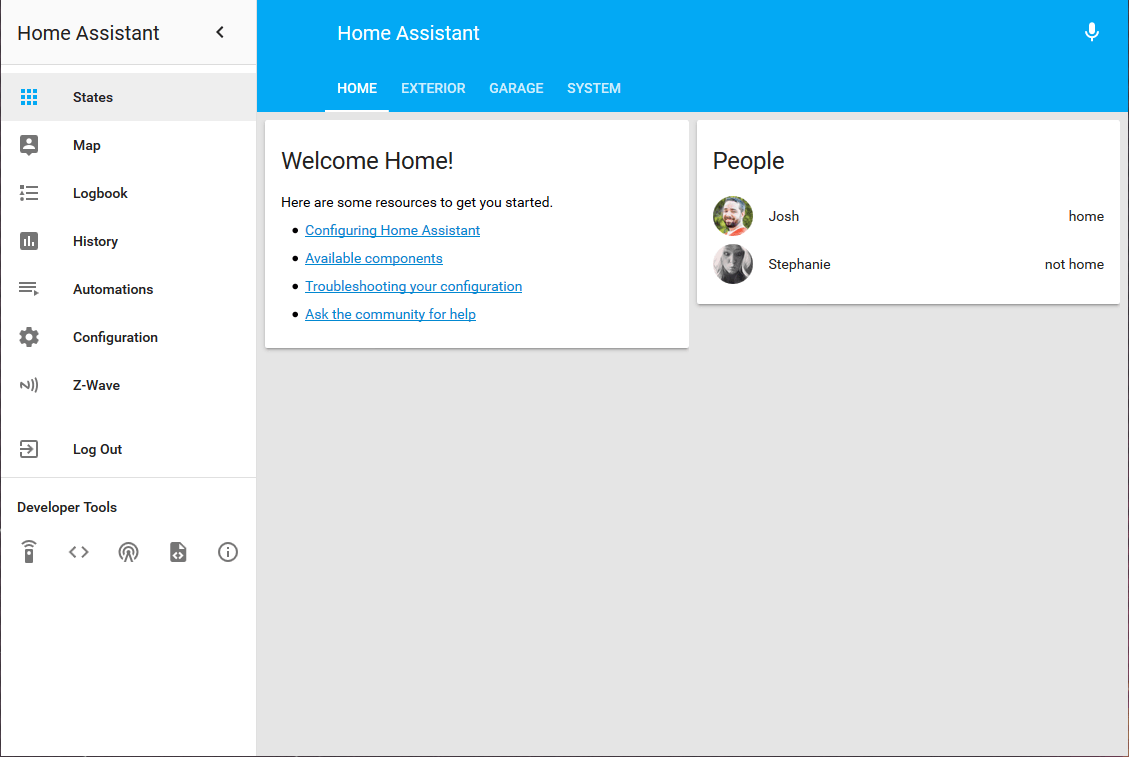
After a couple of seconds, I navigated to the States section and saw the new tabs across the top of the screen. The Home tab still had the “Welcome Home!” group because my configuration.yaml file still had the introduction entry. I commented it out by putting a # symbol in front of the word introduction because I don’t want it in the UI at this point.
Now that the views were working, I took some time to think about how I wanted to organize things. When I was ready, I edited the groups.yaml file again. The approach I took was to
- create the groups I wanted and include the entities I wanted in each group’s
entitiesproperty, then - add each group to the corresponding view I wanted it to appear in using the view’s
entitiesproperty.
For example, I wanted to see the home/away status for my family now that I’ve set up presence detection. So I created a “People” group and included the device_tracker entities for our phones. Then I added this new group.people entity to the “Home” view. The YAML looked like this:
default_view:
  name: Home
  view: yes
  entities:
    - group.people

exterior:
  name: Exterior
  view: yes

garage:
  name: Garage
  view: yes

system:
  name: System
  view: yes

people:
  name: People
  entities:
    - device_tracker.josh_iphone
    - device_tracker.stephanie_iphone
Home Assistant lists all of the available entities in the States page under Developer Tools.

I saved the changes to groups.yaml, checked the configuration, and used the Reload Groups button to view the changes. Sure enough I had a People group in the Home tab.
That’s the basics of it! I set up the following groups using all of the devices I’ve set up so far:
default_view:
  name: Home
  view: yes
  entities:
    - group.people
    - group.weather
    - group.family_room
    - group.master_bedroom

exterior:
  name: Exterior
  view: yes
  entities: group.front_entry

garage:
  name: Garage
  view: yes
  entities:
    - group.garage_door

system:
  name: System
  view: yes
  entities:
    - group.pi
    - group.internet

people:
  name: People
  entities:
    - device_tracker.josh_iphone
    - device_tracker.stephanie_iphone

weather:
  name: Weather
  entities:
    - sensor.yr_symbol
    - sun.sun

family_room:
  name: Family Room
  entities:
    - switch.lamp
    - switch.kitchen_light_switch
    - remote.harmony_hub
    - media_player.apple_tv

master_bedroom:
  name: Master Bedroom
  entities:
    - media_player.roku_5f461s171431

front_entry:
  name: Front Entry
  entities:
    - switch.porch_light_switch

garage_door:
  name: Garage Door
  entities:
    - binary_sensor.garage_door_tilt_sensor_sensor

pi:
  name: Raspberry Pi
  entities:
    - sensor.cpu_use
    - sensor.disk_free_
    - sensor.ram_free
    - sensor.last_boot

internet:
  name: Internet
  entities:
    - sensor.fastcom_download
Series: Creating My Smart Home
- Making All of My Smart Home Devices Work Together with Home Assistant
- Initial Setup and Configuration of Home Assistant on a Raspberry Pi
- Control Z-Wave Devices with Home Assistant Using an Aeotec Z-Stick
- How to Fix GE Z-Wave Switches Not Updating in the Home Assistant UI
- Track Home/Away Status for Your Household Using Their Smart Phones and Home Assistant
- Add Alexa Voice Control to Home Assistant with the Emulated Hue Bridge
- Control TP-Link Smart Plug with Harmony Hub via Emulated Hue Bridge
- Add System Monitoring to Home Assistant
- Organize the Home Assistant Web UI with Groups
- Set Up Secure Remote Access for Home Assistant
- Install and Configure the Home Assistant iOS App and Enable Notifications