Initial Setup and Configuration of Home Assistant on a Raspberry Pi

Series: Creating My Smart Home
- Making All of My Smart Home Devices Work Together with Home Assistant
- Initial Setup and Configuration of Home Assistant on a Raspberry Pi
- Control Z-Wave Devices with Home Assistant Using an Aeotec Z-Stick
- How to Fix GE Z-Wave Switches Not Updating in the Home Assistant UI
- Track Home/Away Status for Your Household Using Their Smart Phones and Home Assistant
- Add Alexa Voice Control to Home Assistant with the Emulated Hue Bridge
- Control TP-Link Smart Plug with Harmony Hub via Emulated Hue Bridge
- Add System Monitoring to Home Assistant
- Organize the Home Assistant Web UI with Groups
- Set Up Secure Remote Access for Home Assistant
- Install and Configure the Home Assistant iOS App and Enable Notifications
⚠️ This was originally posted on July 12, 2017. The information may be outdated!
For my first venture into using Home Assistant, I went with a Raspberry Pi 3 to keep costs down and because it seems very well supported by the Home Assistant community. Once the hardware was assembled, I followed the installation instructions for HASSbian, which flashes a disk image to the SD card for the Pi so I had literally zero setup to get up and running. The Pi is connected via ethernet to my router, which is important before booting up the HASSbian image the first time; it expects access to the internet this way.
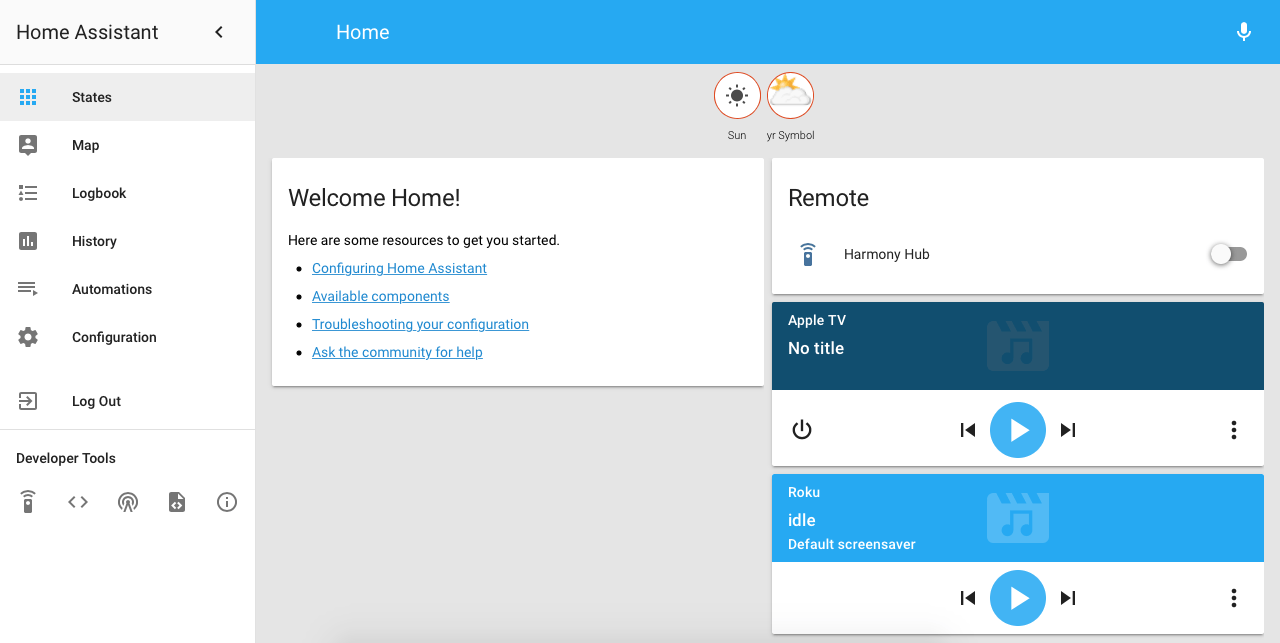
After the Pi booted up (~5 minutes initially) I was able to access Home Assistant’s web UI from my desktop PC by entering the Pi’s IP address at port 8123 in the browser address bar (e.g. 192.168.0.106:8123). See instructions for finding the Pi’s IP address. You can also try entering http://hassbian.local:8123 if you’re on a Mac. The UI had a few default components already listed, and it had auto-discovered my Harmony Hub, AppleTV, and Roku too:
Basic Configuration
A good next step is to edit the configuration file and set up your home’s latitude, longitude, and elevation so the Sun tracking is accurate and device tracking (once it is set up) detects home/away status properly. To do this, use SSH to access the Pi via the command line. On OS X, open the Terminal app to enter commands; on Windows, I recommend using Git Bash. If you’re on Linux you know what to do. Enter the following command (everything after the dollar sign):
$ ssh pi@192.168.0.xxx
You may receive an authenticity warning the first time you connect via SSH. Type yes to continue, then enter the default password raspberry when prompted. Now you’ll need to switch from the “pi” user to the “homeassistant” user to edit the configuration file:
$ sudo su -s /bin/bash homeassistant
Then change directories to the directory where the configuration file is located (this may be different if you aren’t using the HASSbian image):
$ cd /home/homeassistant/.homeassistant
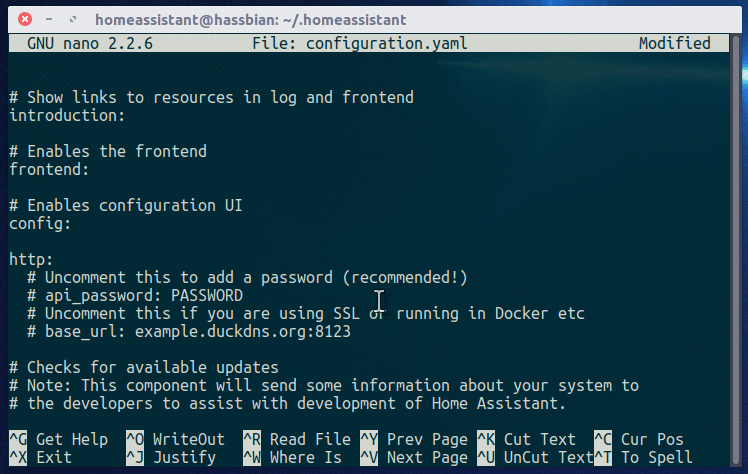
Finally, open the configuration file using the nano text editor:
$ nano configuration.yaml
Home Assistant uses YAML files for configuration. Note: it’s very important that indentation is correct when editing these files or errors may occur. In the terminal you should see the contents of the configuration.yaml file with some commands listed at the bottom of the file. If you’ve never used nano to edit text files before, just keep in mind that the usual keyboard shortcuts won’t necessarily work. Keep things simple at first and just use the arrow keys to move the cursor around to where you need to type.
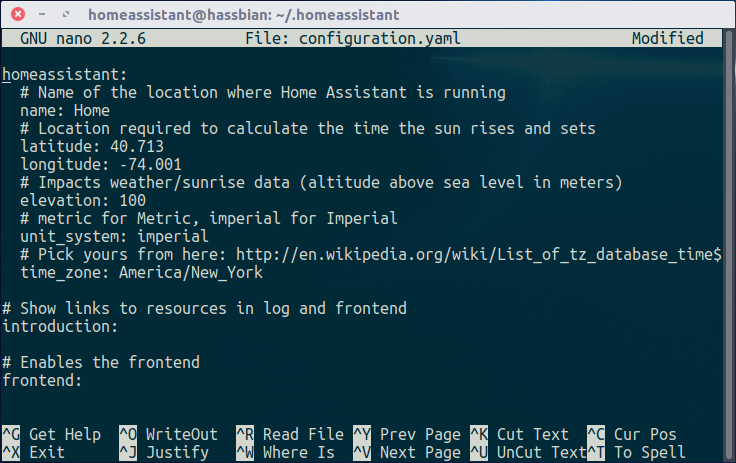
First, enter the exact latitude and longitude where your Pi is located. Home Assistant has values here already, but they are just an estimate (based on your public IP address?). To find the exact latitude and longitude, view the location on Google Maps, then right-click on the location and select “What’s here?” A small popup will appear at the bottom of the map with the latitude and longitude values.

Enter those in the configuration.yaml file in the appropriate locations. You can also search for the elevation of your location and enter that for even more accurate sunrise/sunset times.
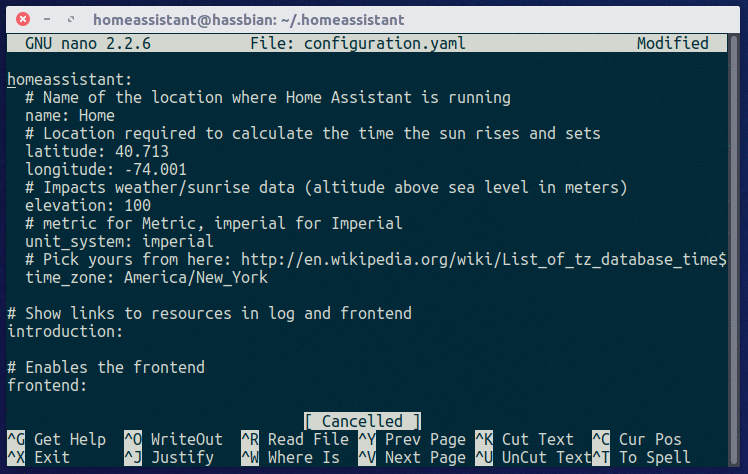
Pressing Ctrl + O then Enter saves the changes to the configuration.yaml file. Ctrl + X will exit nano and go back to the .homeassistant directory.
Before the changes take effect, Home Assistant needs to reload the core configuration. However, if there’s a problem with the configuration (e.g. an invalid value, an extra space in the wrong place that screws up the YAML formatting, etc.) then the changes won’t take effect and errors will occur. To avoid that, I always check the configuration from the web UI. Open the left side menu, navigate to the Configuration section, then scroll down and press the Check Config button:

Hopefully there are no errors at this point. If there are, double-check all of the whitespace and indentation in the configuration.yaml file, and make sure the values you changed are valid and have no typos. Once you have a valid configuration, scroll down and press the Reload Core button. Within a minute or less you should be able to navigate to the Map section and refresh the browser to see the map’s location change to the new latitude and longitude.
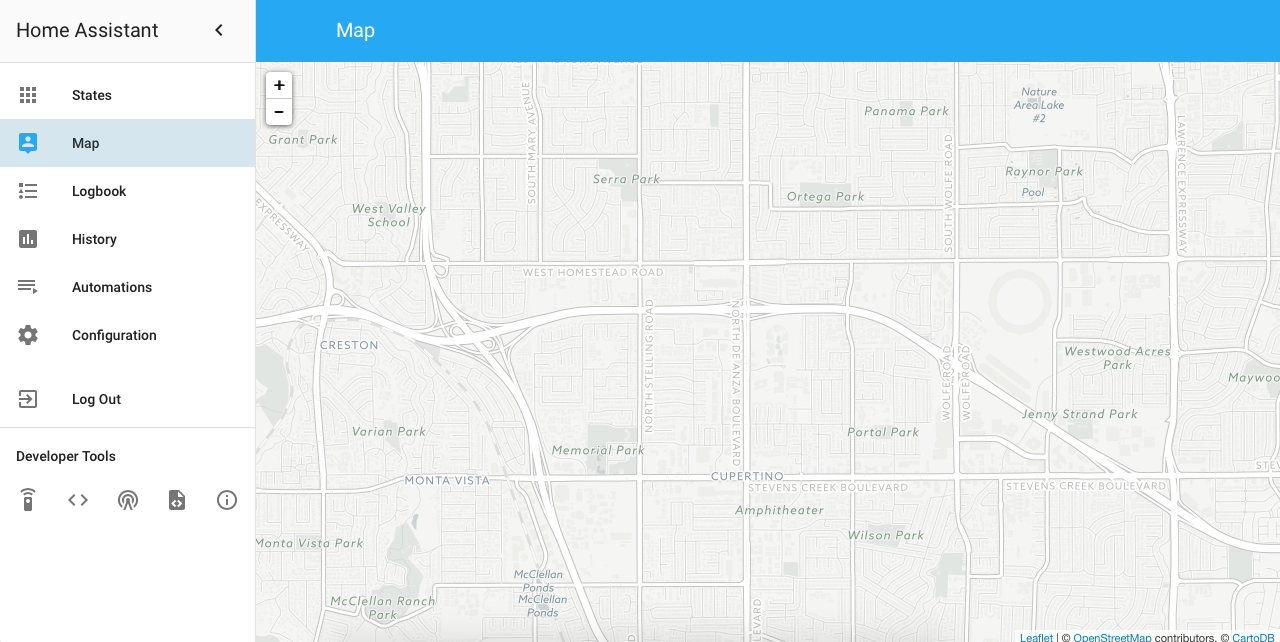
The map isn’t very helpful at this point because device tracking isn’t set up yet, but it does show that the changes to the configuration are working.
Set Up Basic Security
Before going any further, it’s a good idea to update the default password for the “pi” user and to add a password for the web UI. While you are still logged in as the “homeassistant” user, edit the configuration file again and under the http section uncomment the password line and enter a password. You’ll be prompted for this the next time you access the web UI.
Once the configuration.yaml file is saved, check the configuration again, and if it is valid press the Reload Core button again. Wait a few moments and then refresh the browser. You should see a login screen. Enter the password you chose and log in!

Now it’s time to update the “pi” user’s password. In the terminal you should still be running as the “homeassistant” user. Type exit and press Enter to switch back to the “pi” user. Now enter the following command to change the password from “raspberry” to your own password:
$ passwd
You’ll be prompted to enter the current password (“raspberry”). Type it then press Enter. Then you’ll be prompted for a new password. Type it and press Enter, then type it again to verify it and press Enter again. That’s it! The next time you use SSH to access the Pi you’ll need to enter this new password.
Now Home Assistant is up and running on your local network with some initial configuration complete and basic security in place. In future posts I’ll details additional configuration steps, adding more devices, and the fun stuff–automations!
Comments
Comments are closed